 |
| The old one is in 3 pieces in the background. This one will be exactly the same but without the cut out for the prop. |
Thursday, 13 March 2014
Rudder
Making a start on the rudder, I need to cut and tread the through bolts and then it can be glued up and planed to shape.
Tuesday, 11 March 2014
Bowsprit envy ?
Finished off the top of the stem yesterday and test fitted the bowsprit, then I finished shaping the cut water and fitted the gammon iron. Now it needs painting and the bronze stem plate can be fitted. I should probably leave it as the last piece like a VW badge but its close enough.


Sunday, 9 March 2014


Friday, 7 March 2014
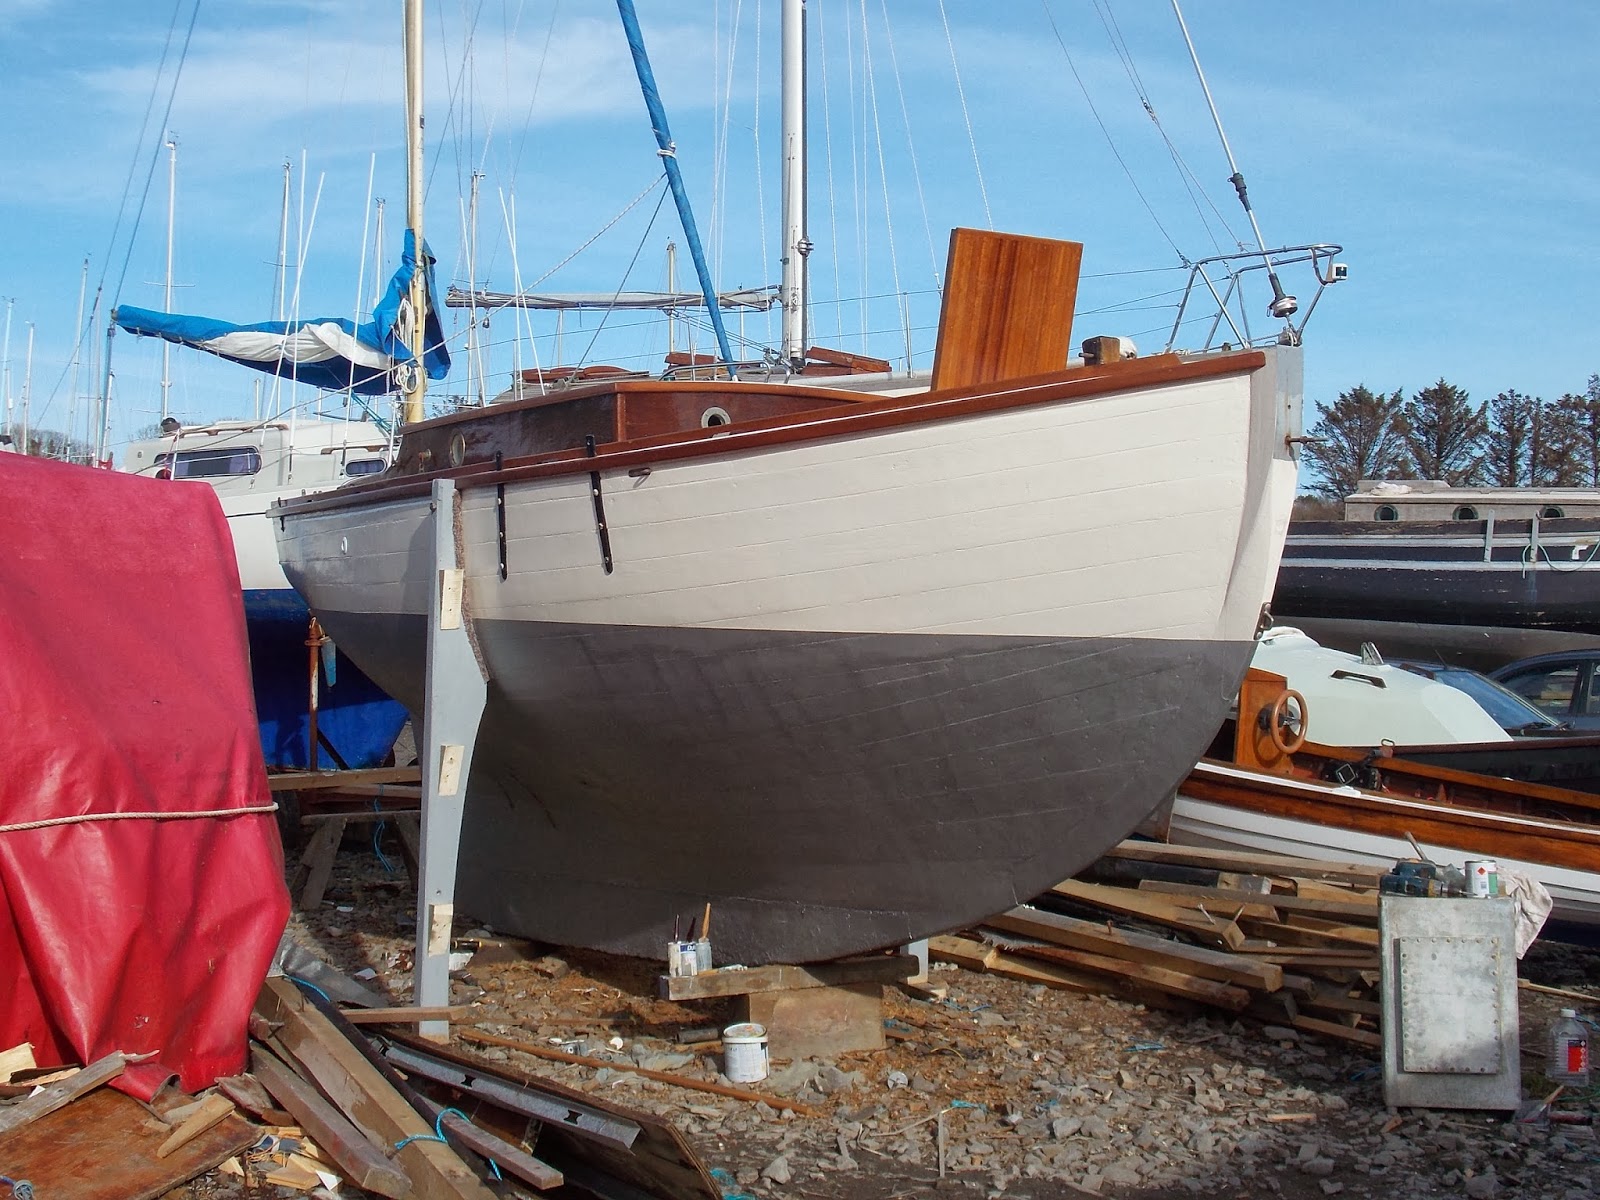
Unveiled
Beautiful day today so couldn't have been a better day to unveil Teal. Ken gave the bottom a coat of Primacon so she's ready for anti-foul.


Wednesday, 5 March 2014
Final day undercover
So the plan is to take the tent down on Friday. I want the cover for my other boat so I can get on with some fiberglass work on the deck and I need to be able to get at Teals bow and stern for the last few jobs. I've bought the iroko for the new rudder so once the boat is out I can measure things up and fit the pintles.
Today I did the last few things to make her water tight. I've hinged the forehatch and fitted the latches, finished the cap on the bow, fitted a drain between the cockpit coamings to shed water from the coachroof (Teals coachroof leans back which is bit of a pain) That still needs to be piped to a skin fitting.
I also varnished up the washboard and hatch coamings and fitted the washboards and finally I made the beaching legs.
I've given them a coat of primer and before I bolt them in I'm going to tack carpet along where they touch the hull. All I need to do now is buy a small cover to cover the cockpit, My fitted cockpit cover may well be ready I just haven't heard anything yet. I'll have to follow up on it tomorrow.
So on Friday evening I'll finally get to stand back and take a look :)
 |
| The deck is filthy with dust but it won't be long getting a good rinse. |
Monday, 3 March 2014
Finally
It took a month but my hob finally arrived. Its a mentholated spirits burner. Apparently very safe as they are not pressurised and can't spill. They also make a heater which I will get at a later stage so I don't have to install a solid fuel stove after all.

Saturday, 1 March 2014
Rudder pintles
The rudder pintles have been playing on my mind for ages now, I couldn't figure out what to do about them.
The originals are basically iron swing bolts (gate eye bolts) but they were rotten. I couldn't get hot dipped ones long enough, long ones were all ZP coated and stainless ones were something like 90 sterling a piece
and having them made would be quite expensive.
I decided to cut an off-cut off the 1 1/8" propshaft into segments and bought 316 stainless bolts to weld to them but then decided that 1 1/8" looked too small. I then went and bought a meter of 50mm x 10mm stainless bar and spent the day making up these.
This is the full assembly. The skewer came with the boat. You line up the eyes then drop in the skewer to keep the rudder in place.
The rectangular half will be bolted through the transom and sternpost and the round side through the rudder.
They're fairly robust, The round eye on the pintle is a 25mm long piece of 40mm 316 driveshaft, The bolts are M12 316 about 7 inches long and the skewer is 13mm diameter.
This is the upper pintle, The transom sits at a slightly different angle to the lower half of the stern post so the top one has to stand out an inch further to keep the pivot point in line with the skeg. Now I can finally scratch them off the list.
Subscribe to:
Posts (Atom)